Electrical. Rough in for the electrical was started Dec 31 2021. Perfect indoor project to get moving on because of the weather. The panel, supply conductors had been installed earlier. This project was mainly to start the branch circuits. One worker was present to start this phase. This house used less than 1250’ of Romex.

Mitch - securing the romex to the stud. The purpose being to keep the wires at the middle of the stud so they are not accidentally hit by errant screw or nail later. Everyone seems to like these green AXIS Cut Protection Foam Nitrile Coated Gloves. They used to be under $5, now they are about $7 a pair - but they are awesome!! The black MaxiFlex are good too.

The cabin was getting trashed - we basically made a rule - All drills (and bits) go on top of the TV! TV was not on while we were working.

Using a sharpie to label your wires. Almost not necessary with this place. All the feeds (120V) are coming from underneath and all the “switch legs” are leaving the top. There are no three ways. How many wires can you put in one box? Its based on the size - the box lists the numbers per gauge you may have in one box.

Kitchen 1 is the name of this circuit. It does denote the line side for GFCI install. Some electricians simply crimp the line or incoming cable on circuits that require GFCI. Single gang nail ups cost $0.98. Just don’t tell my customers that!!

Square D QO 24 Circuit 100A panel. The main conductors (2/0 Cu) have already been landed, just not connected at the J BOX - see page “The Big Dig”

The cables have been secured in the panel. Ready for trim out. A total of 20 spaces will be needed.

Showing a view underneath the panel. The rigid pipe protects the service entrance conductors. Nothing can happen to those. These conductors are fused 800’ away. Being overly cautious here is not a bad thing. The 1” grey PVC conduit runs under the driveway to mark the location of the direct burial cable to conduit. A post lite may be used at that location. This pipe will supply the circuit.

Showing a view of the panel trimmed out. Ive never used pieces of the sheath to label the wires, usually writing it on a piece of cardboard off to the side. i kinda like this approach - little quicker to identify circuits upon initial start up. There are two spaces left in the panel.

Exhaust fan with lite. LED. We ended up pulling a three-conductor wire to it just in case we want to operate the fan and lite separately. Tight space. The exhaust fan can only be a certain height, the exhaust pipe needs to be reduced from 4 inch to 3 inch. This is a perfect example of the challenges you have when you build non standard. Everything needs to be re fitted.

Exhaust vent. Found this one online from a HVAC website. Aluminum with screen. I primed and painted it grey. It really blends well from the ground.
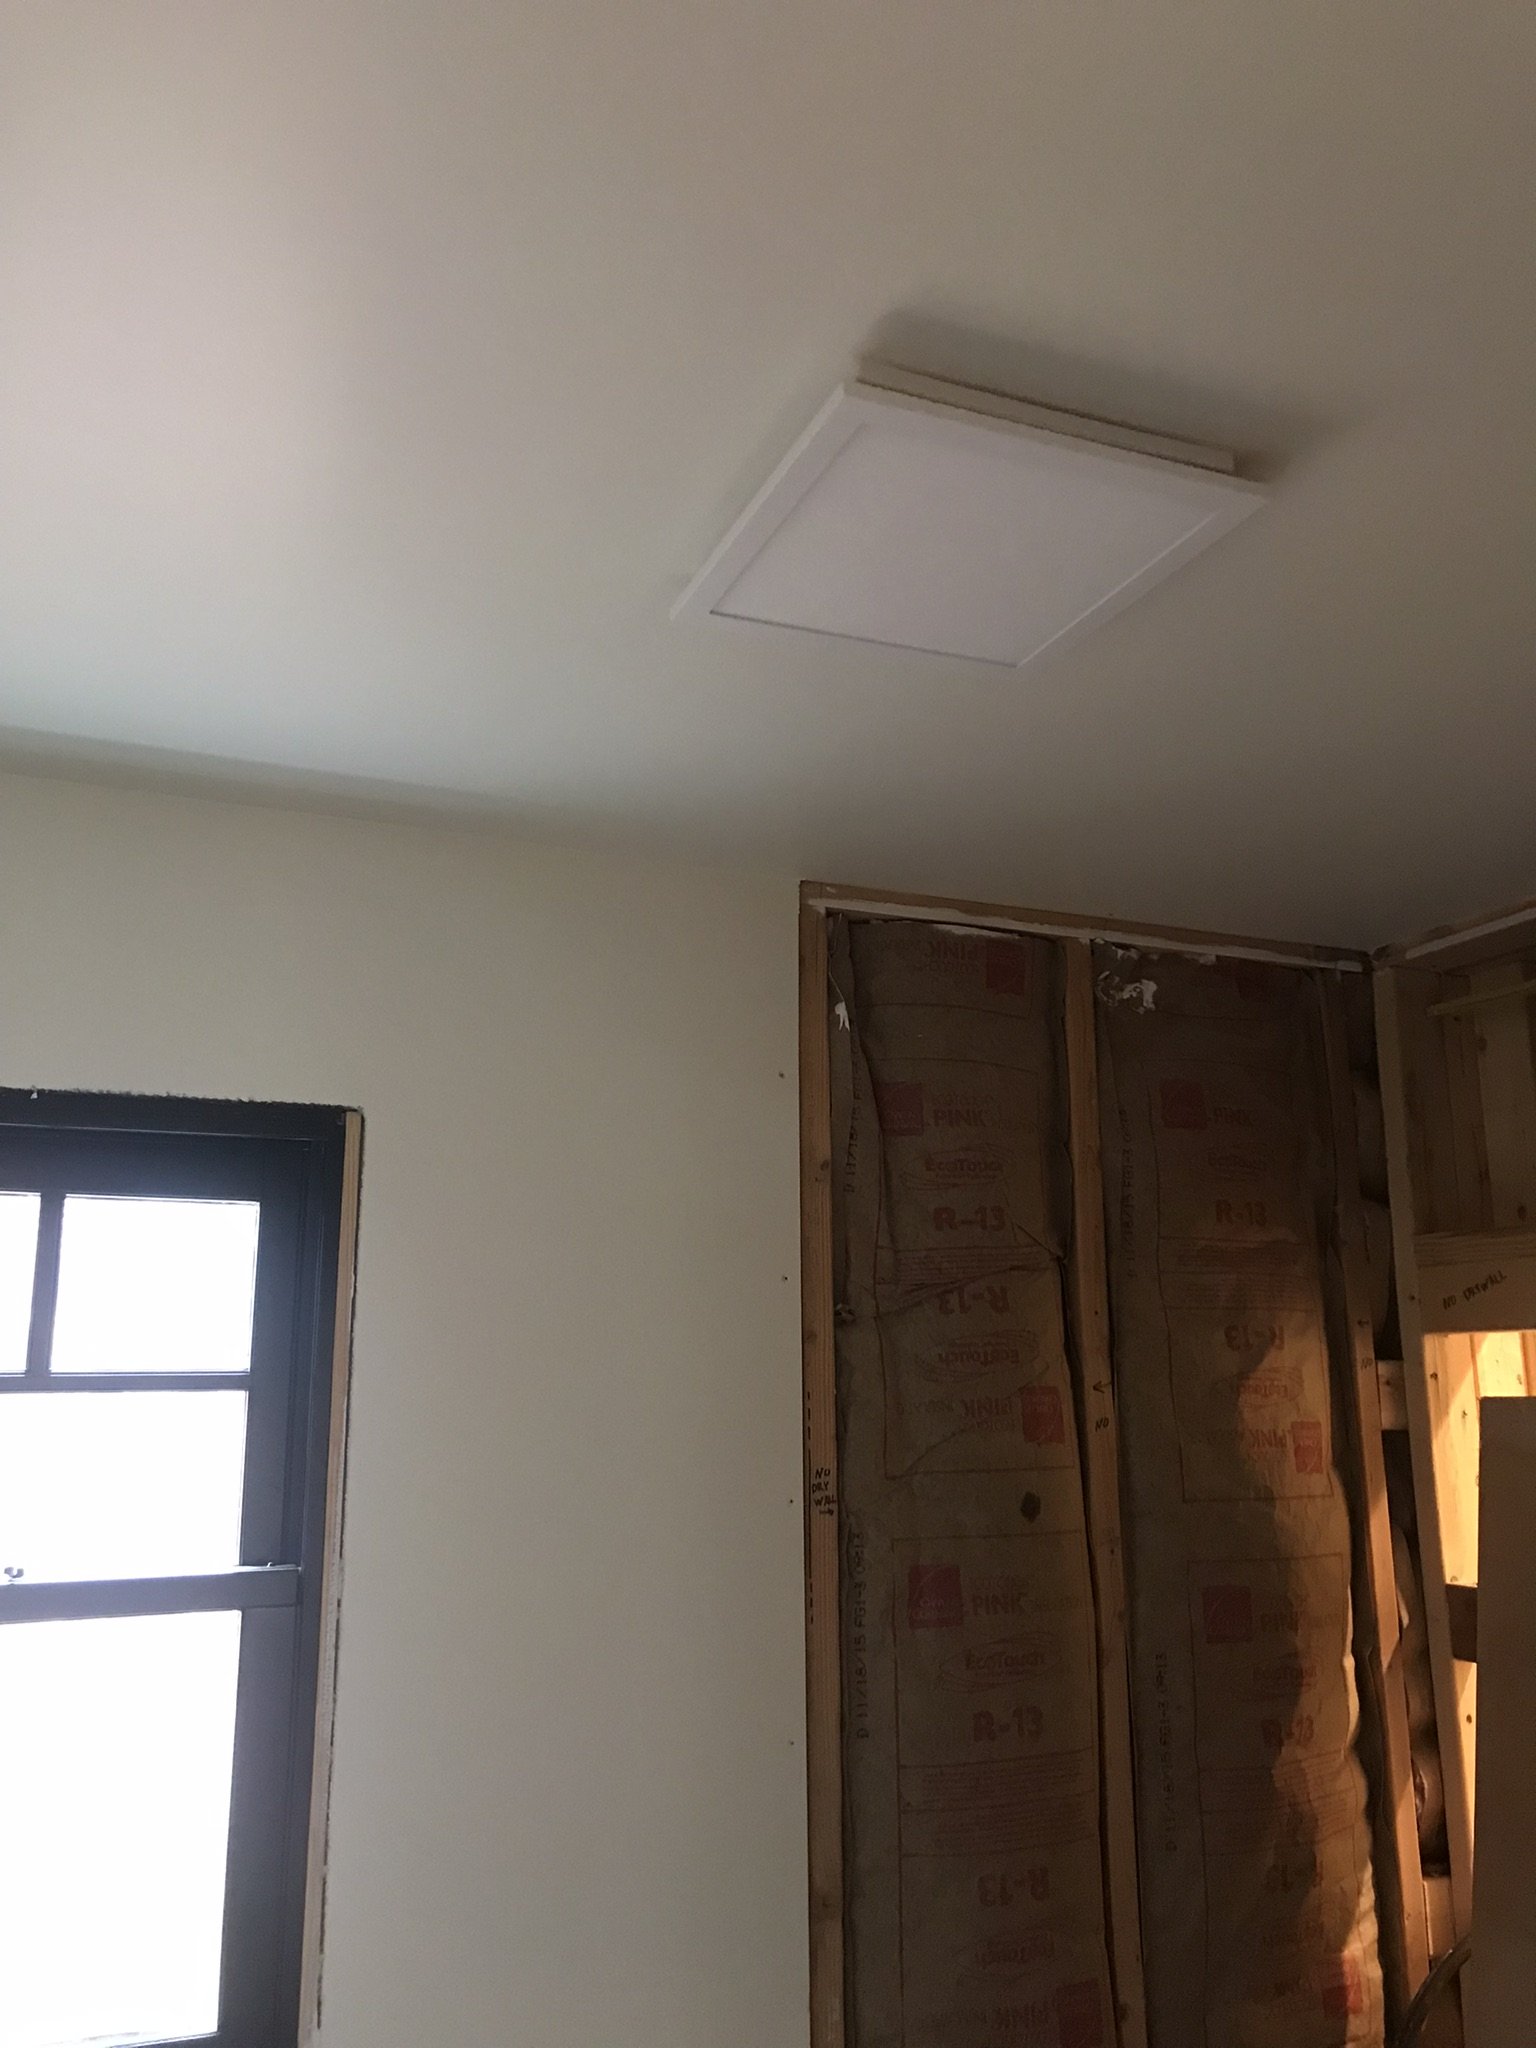
Here is the trimmed out exhaust fan with lite. Its very quiet and moves a lot of air.

Picked these up for about $25 each i think. You basically buy the base and corded socket and then pick out a pendant style you like.
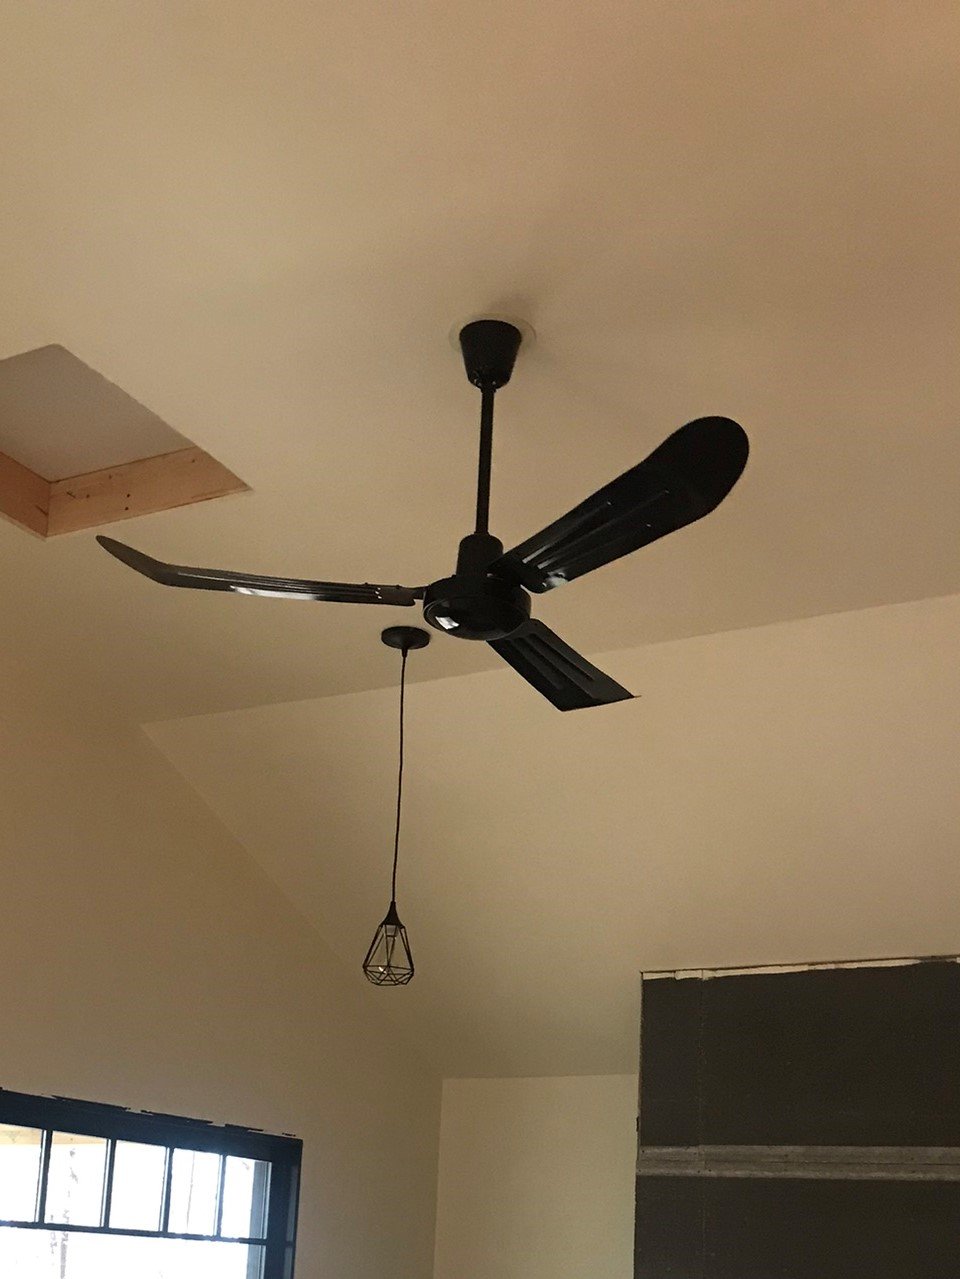
This is a 56 inch fan. Canarm FR56. $135. Not terribly expensive. Typ for Industrial locations. No lite kit. No pull strings. The blades are practically spinning shears…… It has a reversible motor but an accessory wall controller had to be purchased, and then an additinal cable pulled……. There is a slight hum at some speeds but this fan will move a ton of air. Black metal.

Quad receptacle by the bar top. Device color for the house - Light Almond. USB A and C chargers. This is a just a goto spot for mobile devices.
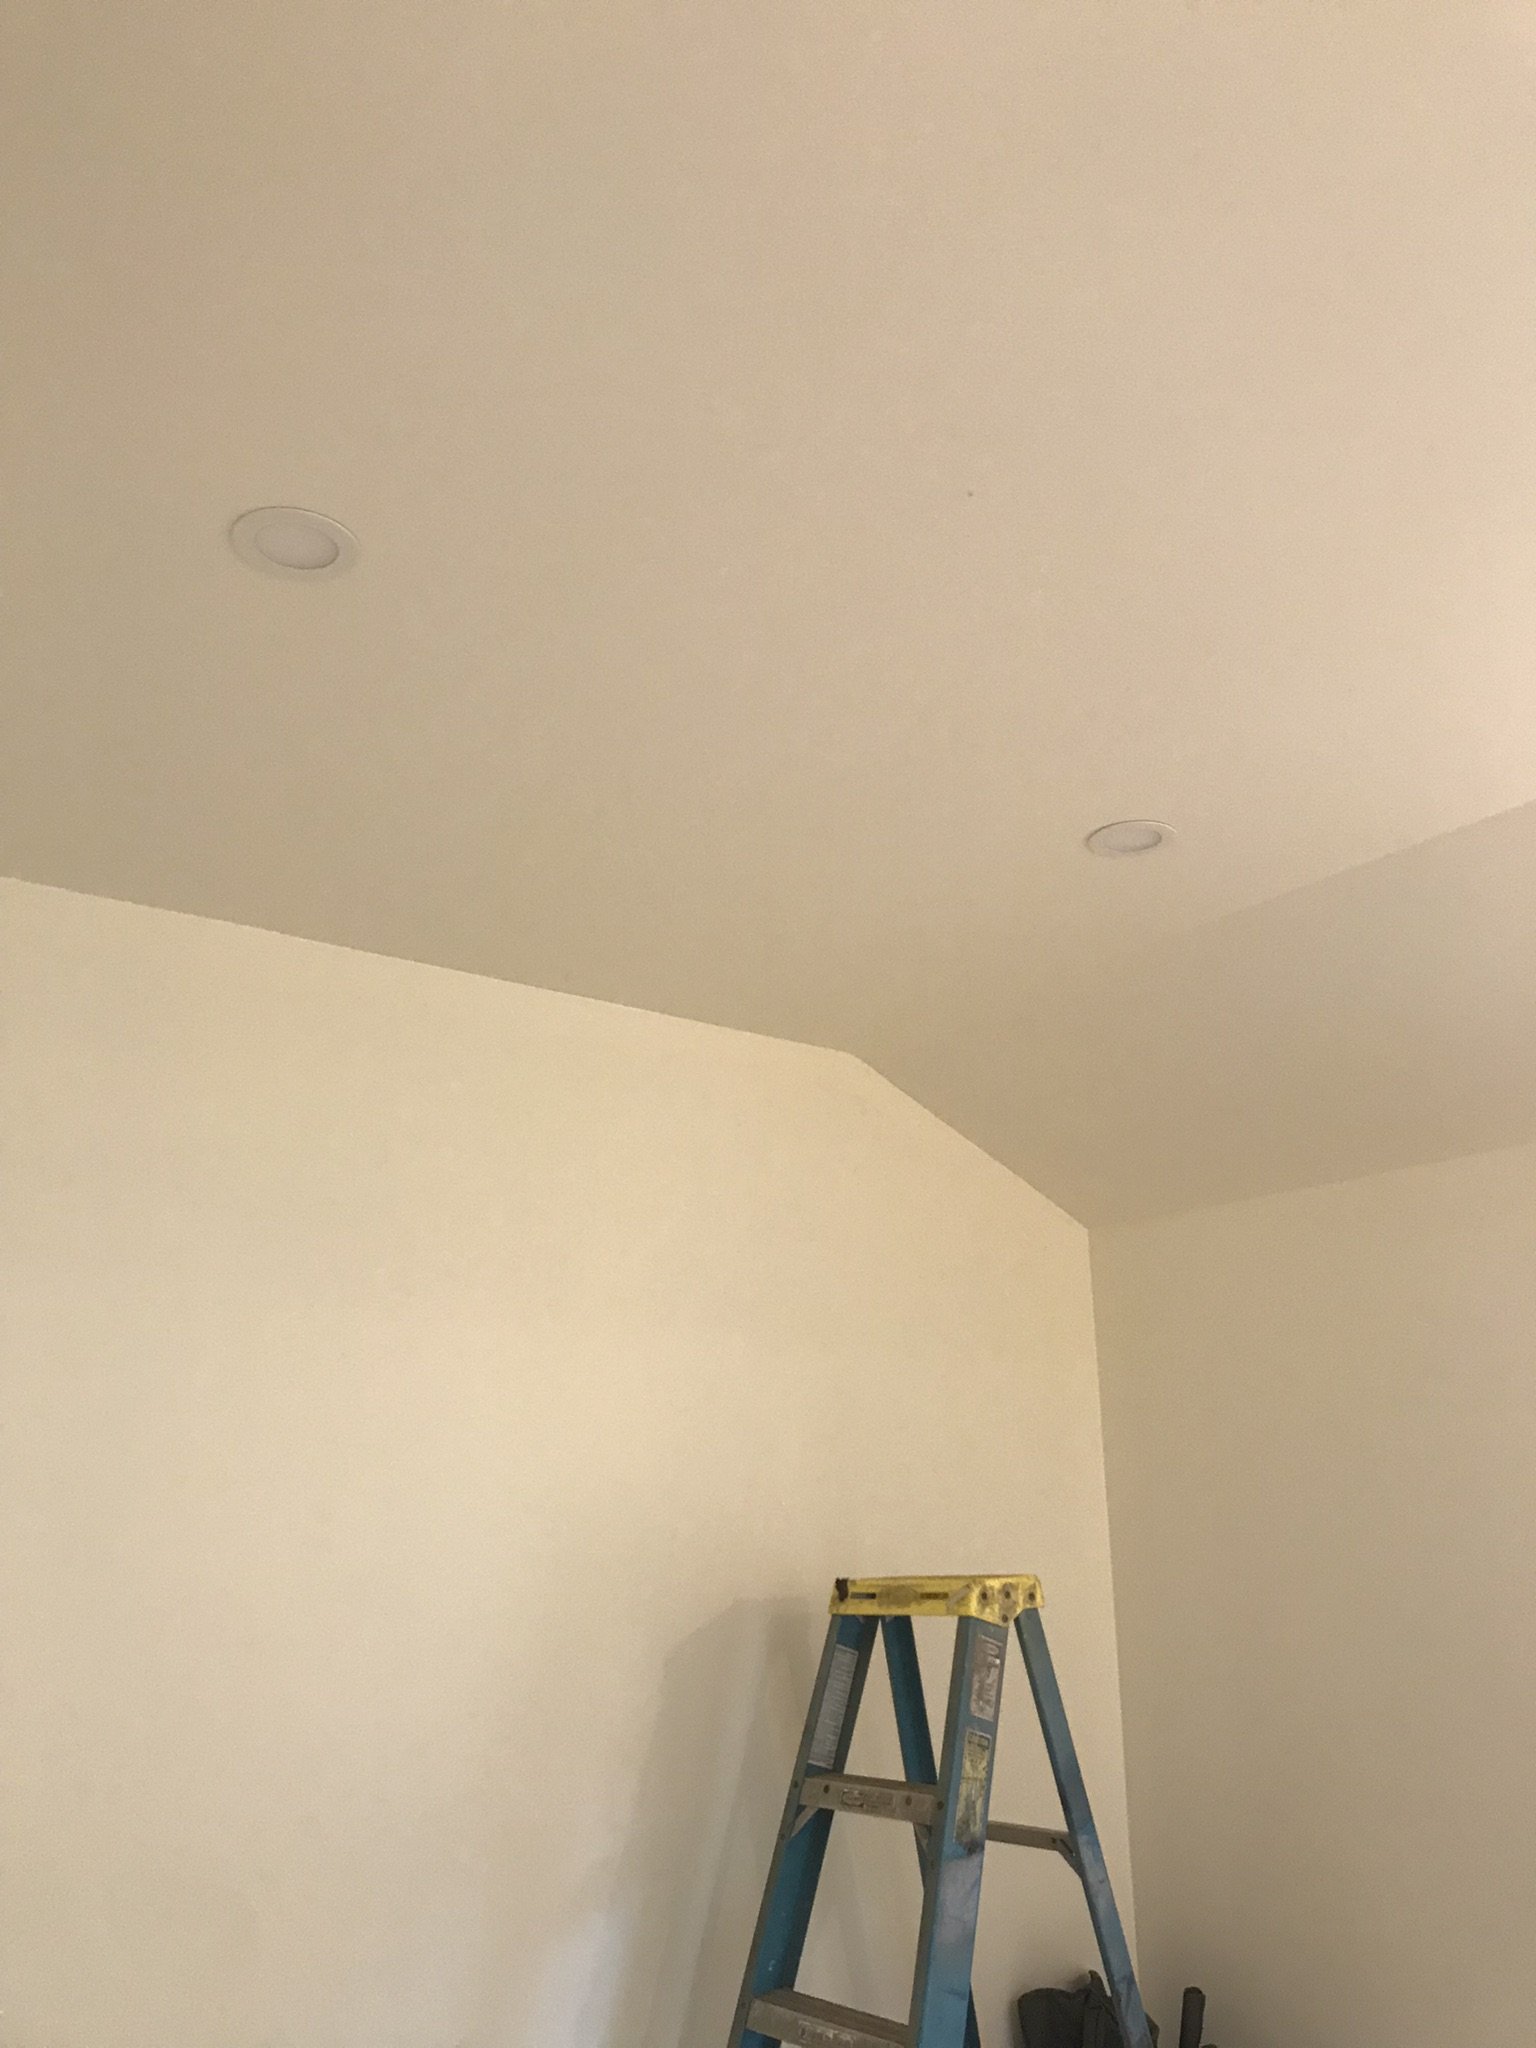
Not much to say here. The house uses a lot of 4 inch LED thins. They are bout $30 each. Set to lowest color. No dimmer. If you need to see - you need to see!

Same fixture type and set up, except angled gimbal. 4 in LED for sloped cieling in the laundry room. (Don’t install flat cans on angled cielings)