Plumbing. This phase started in September 2021. The plumbing rough in was started as a time filler while the exterior siding was getting finalized. The initial goal is the DWV system; getting a commode connected to the septic tank. The completion of this phase was October 30 2021.

View from underneath. 2 inch drain lines.

Kitchen sink, shower, and laundry tying into the main 4 inch line. Commode line, 3 inch, is on right.

The DWV system was filled with water to a height of 115 inches above subfloor. These pipes were temporary to just fill with water. Once filled - the system was looked over for leaks.

Metal washer box by Oatey.

Test plug inserted into drains and inflated with bicycle pump. This allowed the system to be filled with water.

Commode was set on temp platform to be removed later when finish floor is installed. Easier to cut the drain line to finish floor at that time.

It was suggested to add a curtain or something for some privacy. This was the tarp from the fruit shack. Already on site and so trimmed to fit. Can always step out on the porch as well.

The drywall has been installed, and primed. We needed to reset the commode, but first - thinset and cement board was put down. It is nice to have the bathroom back.

Kevin is onsite this weekend to get the rough in completed. We ran all the PEX underneath, connecting each fixture up. This system wasn’t connected to the main supply. That will be for another time. We also insulated all of the pipes. This project occured on Aug 6 2002.

This picture depicts how we have run the water lines. They are kept up high, and close together. The idea is to not see any utilities (as much as possible). Lifting the pipes up to the house also keeps them protected from physical damage and hopefully from cold winds during the winter.

We are keeping the pipes up high, out of sight, and out of the weather. This floor will not be insulated.

We always this these green Axis gloves!

What this project needed was matching nail aprons! Day 2!
We are keeping the pipes up high, out of sight, and out of the weather. This floor will not be insulated.

Another picture to demonstrate how we have ran the lines. This area is under the laundry room. You can see power conduit, grey PVC, and the black pipe is the insulated main water line. That will be reworked when we connect to the branch lines. (Need to get those blocks out of there)

The two 3/4 lines are headed out to the location of the Instantaneous water heater.

Water line has been re routed. Shut off and water spigot added. This spigot comes off the main supply. if you would like to drain the house - close the water shut off and then open the spigot. The heating tape will be resecured, and this water line will be re insulated.
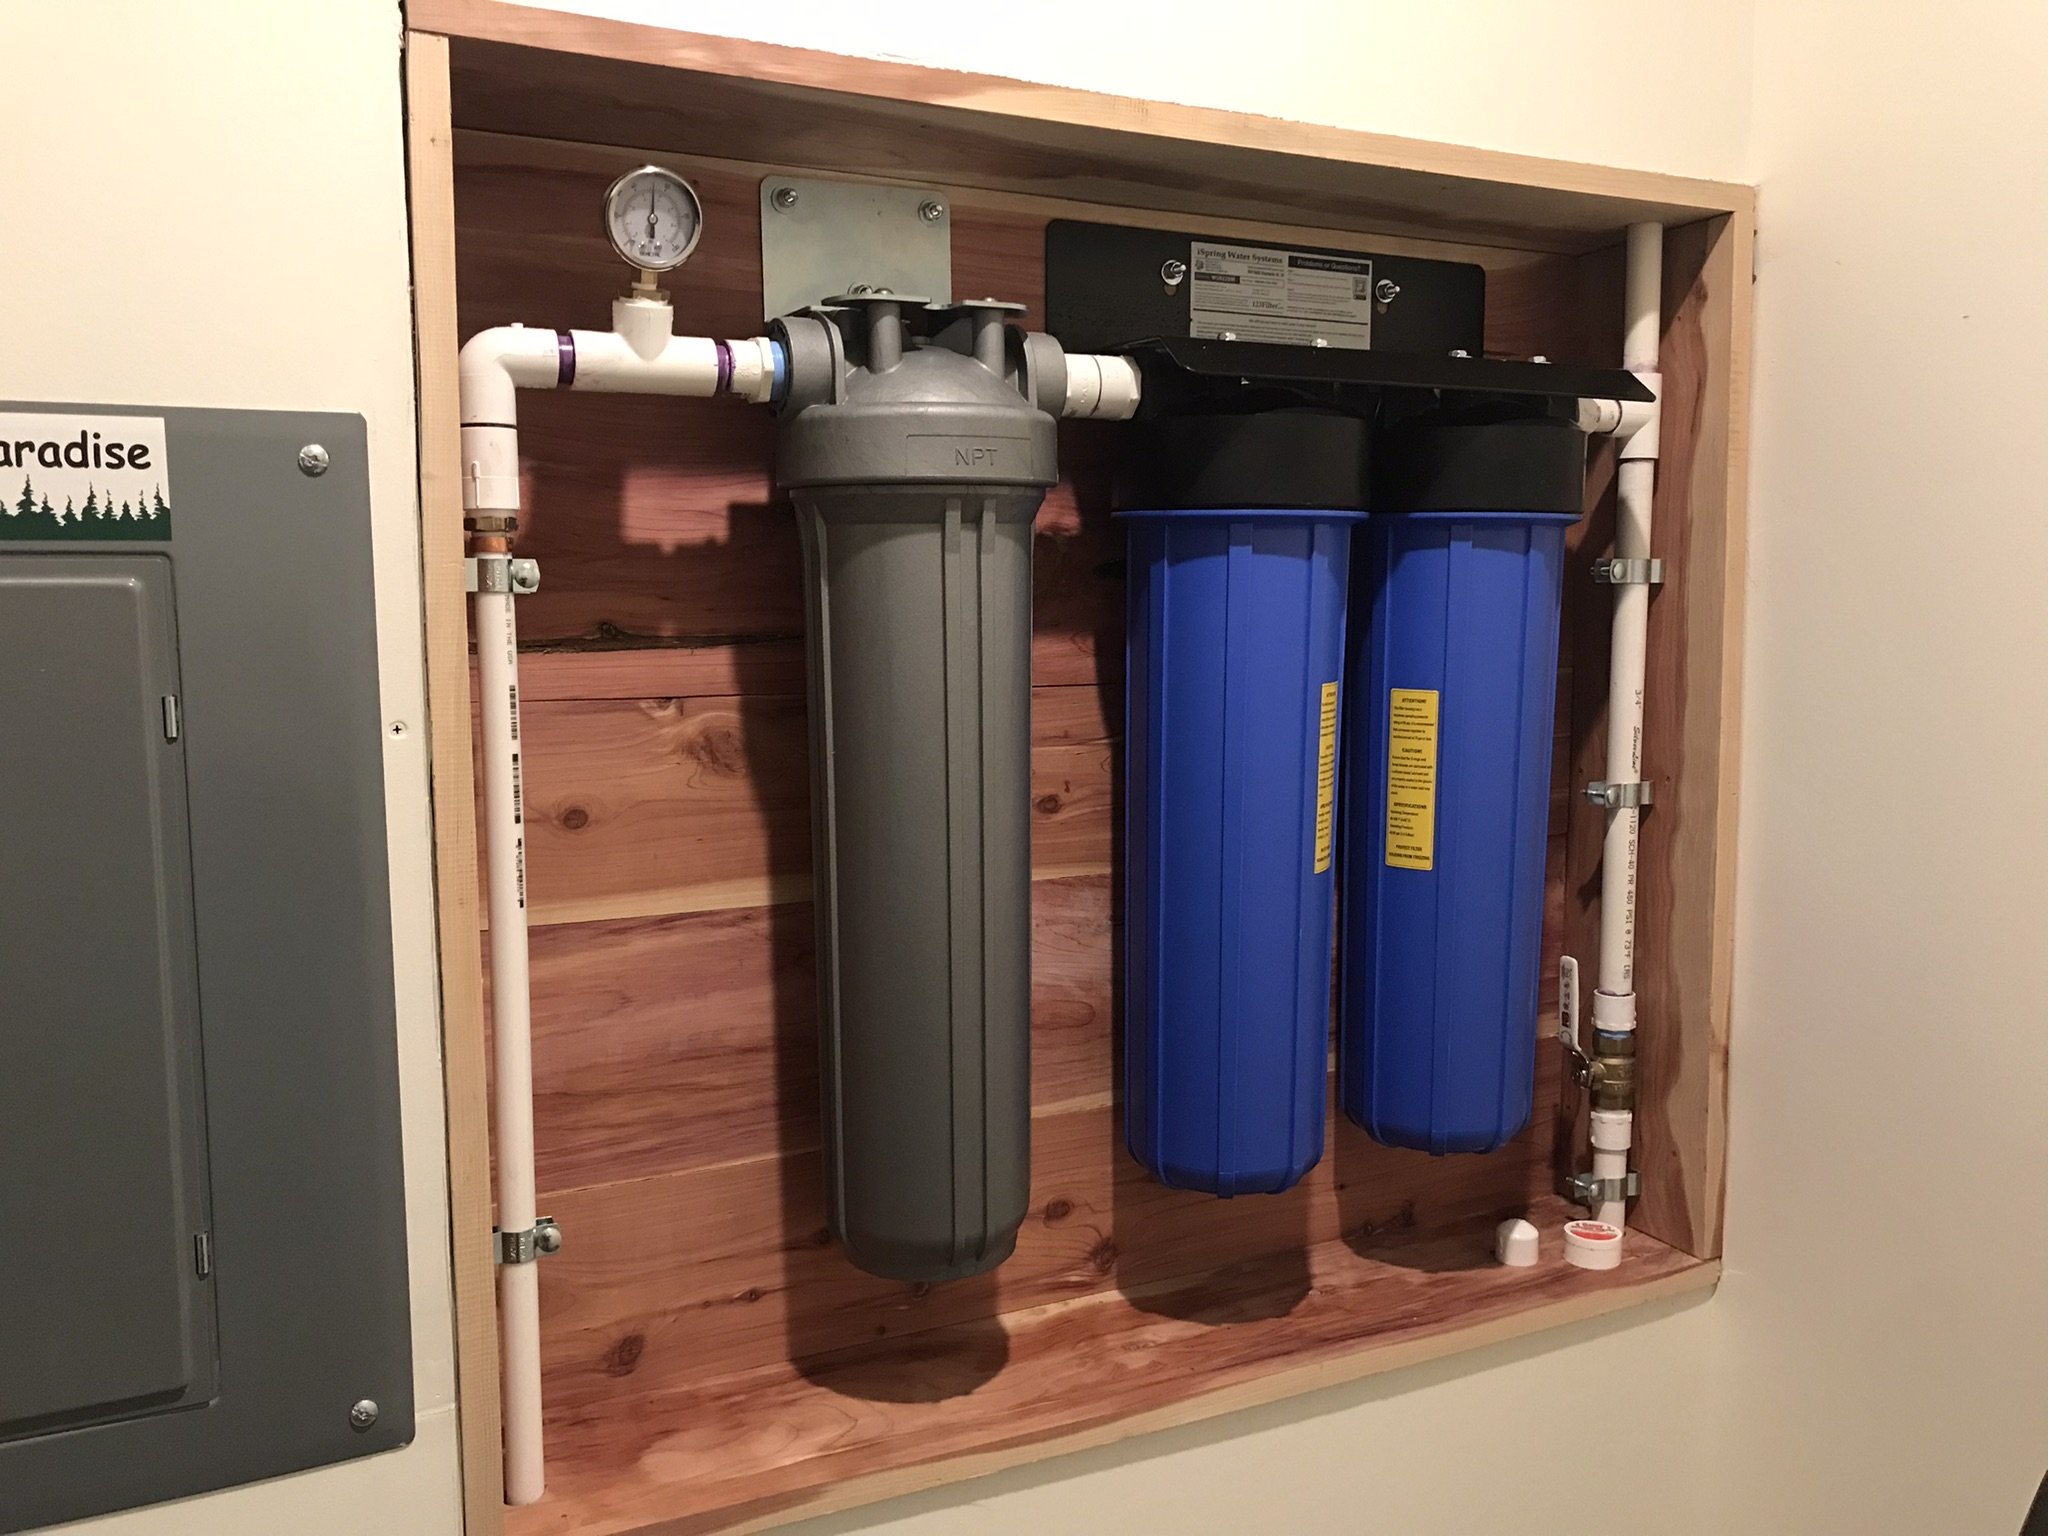
This is the water filtration cabinet. All cedar. Thanks Troy! The water supply can be shut off here as well. The filters are sediment, iron, manganese, and hopefully - the grey one is a water softener. Will see how well this water softener works……

A pressure gauge was added here, as a way to, watch the system. You want to see a range between 40 to 60 psi (house seems to operate at 35 to 55 psi). Smooth movement of the needle proves your pressure tanks are intact and doing their job.

A second pressure tank was added at the house. Recall the main one is at the well. 800 ft away. This one was added to ensure no water hammer exists, and if for some reason the main one fails, this smaller one will be me a little time. Also, a second tank is like having a larger first one. More reserve pressure allowing the pump to not run less, but cycle less.

Six gallon electric water heater. 2000W single element. This will supply hot water to kitchen and bathroom sink and laundry only.

Rinnai Instant Hot. Propane powered. Kinda temped up at the moment with 20 lb tank. First hot shower was taken on Jan 16 2024.

Rinnai Instant Hot. Lots of “good” insulation installed. Pipe heater on PEX just under house.